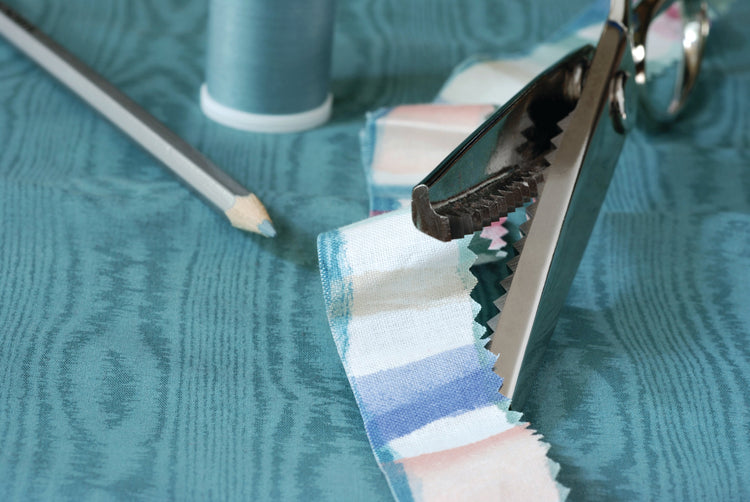
Pinking shears were designed to help keep natural fiber, woven fabric from fraying. This type of scissors may or may not cut man-made fibers. Pinking shears' teeth are cut at a slight angle allowing them to be opened and closed. They are made in an abrasive slurry by a machine opening and closing these shears many times. This results in a lap line as seen in the picture.

To sharpen, make sure that you have a visible lap line for the full length of the blade. If there is no lap line then these shears will not work, even with sharpening.
Also, test pinking shears before you try to sharpen them. Inform the customer if they do not cut, as they may not, that even after a good sharpening there is a good chance they won't cut again. Also note, we see a failure rate of about 30% with brand new pinking shears right out of the package.
Put it in your clamp with the teeth up (right-handed shears) and match the angle as close as possible, most pinking shears are 0 – 10 degrees. You will find some Wiss scissors that are -5 degrees. For these, move the clamp below the zero mark to match the angle.
Mark the top of the teeth with an indelible marker (Sharpie), this makes it easier to see that you sharpened the whole surface of the top of the teeth. Never sharpen in between the teeth.
Sharpen both blades on the white sharpening stone making sure to get to the top and bottom of the V. Remove the burr by spreading the blades to close and pinching them while opening the blades up.
Test the scissors and if they cut, stop sharpening. If they don’t cut then polish one blade and test the scissors. If they cut then stop. If not, polish the second blade and test. Polish each blade up to two times, if they don’t cut then return them to your customer no charge.
David Wolff
CEO Wolff Industries, Inc.


